Course Scheduling in BOKUonline 3.0
For teachers without additional authorisation
The first link in the top line ‘My courses’ shows you a list of your courses in the current academic year. Click on it and then select the desired course by clicking on the clock symbol next to the correct course title.
Then continue with step 3 of these instructions.
For secretariats and persons with LV Administration authorisation
Step 1: Open course administration
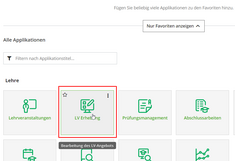
You will find the link to the course Administration in the top line of the new application list - click on it.
Step 2: The Org Chooser
One new feature is that you do not have to navigate to organisational business cards before opening an application. Instead, you will see a selection of possible OUs for applications dependent on the organisational context after opening them, depending on your own authorisations.
Select the desired OU from the list.
Step 3: Choose the right course
The following views will already look familiar to you as it is the same application as before. Only the action menu (previously top right) is now above the courses.
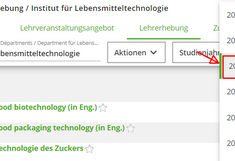
Make sure that you are in the correct academic year and open the course entry screen by clicking on the ‘S’ (or ‘W’ in the winter semester) next to the course title.
Step 4: Scheduling
This view will also look familiar to you. The only difference is that the action menu is no longer at the top right.
Instead, there are separate buttons ‘Create new individual appointment’ and ‘Create new appointments series ’. Click on the corresponding button.
Step 5: Appointment details
This screen will not be new to you either. Enter the required data as before and save.
Step 6: Back to the desktop or change organisation
Once you have finished entering the dates, you can close the detail window and the window with the list of dates for the course you are working on and create dates for other courses.
If you are creating appointments for several organisational units, you can also change the OU within the course survey. On the page with the course list, you will find the currently selected OU at the top left and can change it by clicking on it. The display can be restricted using the text filter.
Once you have completed all entries, you can return to the desktop by clicking on the home button.


